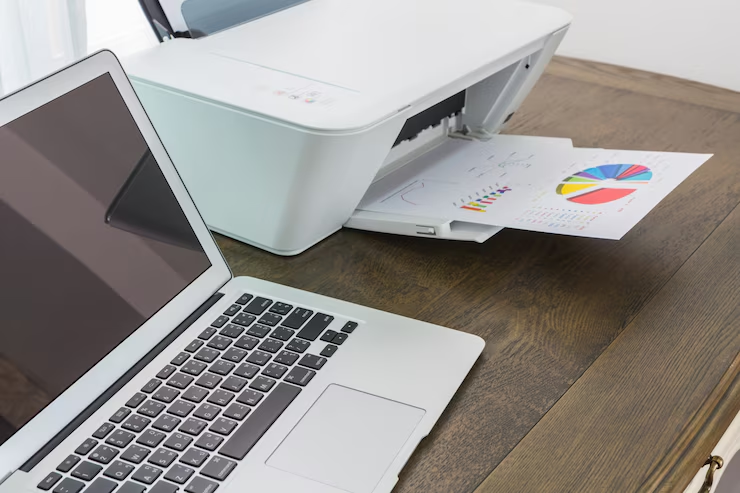
Gone are the days of tangled cables and being tethered to your printer. A wireless (Wi-Fi) printer gives you the freedom to print from your computer, phone, or tablet from anywhere within your network. If you’re looking to set up your device for the first time, this simple guide will walk you through connecting it and getting your print jobs flowing.
Important Acknowledgment: This guide provides independent, general information for establishing a Wi-Fi printer connection. It’s vital to recognize that specific instructions can vary depending on your printer’s brand, model, and the device you’re printing from. For the most precise and current directions, always consult your printer’s official user manual or the manufacturer’s dedicated support website. This content is intended purely for informational and educational purposes; it does not constitute direct technical support, nor does it guarantee specific outcomes for all unique hardware configurations.
Why Go Wireless? The Benefits of Wi-Fi Printing
Embracing a wireless printing setup brings a host of advantages:
-
Less Clutter: Say goodbye to unsightly cables and reclaim your workspace.
-
Flexible Access: Print documents, photos, or anything else from multiple devices on the same network.
-
Easy Sharing: Effortlessly allow various users and devices in your home or small office to use the same printer.
-
Optimal Placement: Enjoy the freedom to place your printer almost anywhere within your Wi-Fi network’s range.
Connecting Your Printer to Your Wi-Fi Network
Modern Wi-Fi printers are typically designed to connect directly to your wireless network using their built-in control panel or display screen. Here are the two most common methods:
Option 1: Using Your Printer’s Menu (Manual Setup)
This method involves entering your network details directly on the printer itself.
-
Power On: Ensure your Wi-Fi router and printer are both turned on.
-
Access Wireless Settings: On your printer’s control panel or display, navigate to the Wireless Settings, Network Settings, or Setup menu.
-
Find Your Network: Select the Wi-Fi Setup Wizard or Manual Setup option. The printer will scan for available networks.
-
Select & Enter Password: Choose your Wi-Fi network’s name (SSID) from the list. Carefully enter your network password (WPA/WPA2 passphrase) using the printer’s virtual keypad.
-
Confirm Connection: Wait for a success message on the printer’s display or a steady blue Wi-Fi light, indicating a confirmed connection.
Option 2: Using WPS (Wi-Fi Protected Setup)
WPS offers a rapid way to connect your printer without manually entering the Wi-Fi password, provided your router and printer support it.
-
Power On: Turn on your printer and ensure your Wi-Fi router is powered on.
-
Activate WPS on Printer: On your printer’s control panel, navigate to the Network, Wireless, or Setup menu. Look for an option like WPS Push Button, WPS Setup, or Push Button Method and select it.
-
Activate WPS on Router: Within approximately two minutes, press the dedicated WPS button on your wireless router. This button is often small and may be labeled with a distinctive “WPS” icon (two arrows circling each other).
-
Confirm Connection: The printer should automatically detect and connect to your Wi-Fi network. A confirmation message will usually appear on the printer’s display, or a light will turn solid, indicating a successful connection.
Adding Your Printer to Your Computer
Once your printer is successfully connected to your Wi-Fi network, the next step is to add it to your computer so you can start sending print jobs.
On Windows (10 or 11):
-
Open Settings: Click the Start button, then select Settings (the gear icon).
-
Go to Devices: Click on Bluetooth & devices (or “Devices” on older Windows 10 versions).
-
Access Printers: Select Printers & scanners from the left-hand pane.
-
Add Your Printer: Click the Add a printer or scanner button. Windows will automatically scan your network.
-
Select & Install: Choose your printer from the list that appears and click Add device. Windows will then configure the connection and install any necessary basic drivers.
On macOS:
-
Open System Settings: Click the Apple Menu in the top-left corner, then select System Settings.
-
Go to Printers: Click on Printers & Scanners.
-
Add a Printer: Click the + symbol to add a new printer.
-
Select & Follow Prompts: Your Mac will search for available network printers. Select your printer from the list and follow any on-screen prompts to complete the setup.
Important Note for Best Results:
-
For optimal performance and troubleshooting, ensure your computer and printer are connected to the exact same Wi-Fi network (SSID).
Ready to Print!
You’re now all set to enjoy the convenience of wireless printing. From basic documents to colorful photos, your Wi-Fi printer is ready for action. Should you encounter any issues, remember to consult your printer’s user manual or explore additional troubleshooting guides right here on our website.